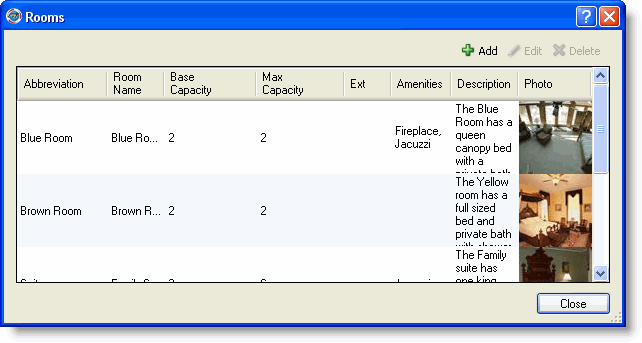
The task of adding, editing, or deleting rooms begins at the Rooms window.
If you manage rooms and amenities by individual room you will use the following Rooms window.

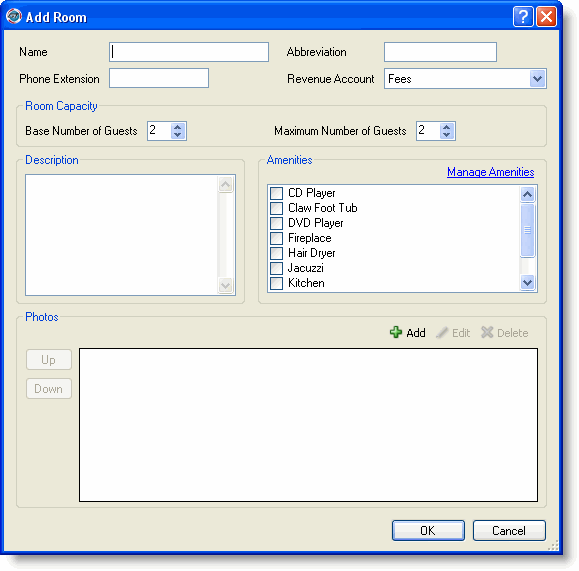
Click Add to display the Add Room window.

Type the room name.
Type an abbreviation for the room - can be the room number.
Type the room's phone extension.
Select the account to which revenue should be booked from the Revenue Account drop-down list.
Select the Base Capacity and the Max Capacity .
Type a description of the room.
Check any of the amenities that apply to the room type. If a room type had an amenity that does not appear on the list, click the Manage Amenities link to add it.
Click OK to close or continue by adding photos for the room type.
After your rooms are defined, you can set up rate types.
Highlight the room on the Rooms window.
Click Edit to display the Edit Room window, which looks just like the Add Room window above.
Make any changes and click OK.
Select a room and click Delete.
Click OK at the deletion confirmation message.